
在使用ELementor製作詢盤表單/聯繫表單時,為了避免頻繁收到垃圾詢盤/郵件,我們可以給表單添加Google reCAPTCHA V3進行反垃圾驗證,這樣以來,當網頁里包含表單時,會自動載入reCAPTCHA進行無感知驗證,能大幅度減少垃圾詢盤郵件,也不會給使用者添加負擔:譬如點擊驗證碼或驗證圖片等等。
按照這篇教學添加谷歌反垃圾驗證后,在表單所在頁面的左下角/右下角/表單提交按鈕上方,就能看到下圖所示的圖示。
")
不過,要說明的是,由於預設的reCAPTCHA V3載入的是外網資源,所以,如果在大陸訪問網站時載入的是外網資源的話,回應速度有明顯的降低,於是,這種做法通常只適用於架設企業網站或外文網站,不適合中文網站。
好在,我已經研究發現了調用全球reCAPTCHA資源的方法,這樣以來,即便在大陸訪問reCAPTCHA資源,也能順利載入,下文我們來介紹具體做法。
具體分為4個步驟:
- 為你的WordPress網站註冊Google reCAPTCHA,獲取兩個密鑰
- 將金鑰填入網站的Elementor-設置-集成頁面中
- 在Elementor製作的表單中添加reCAPTCHA V3字段
- 使用Code Snippets外掛,添加代碼段,實現reCAPTCHA V3的資源全球化,以便國內能順利載入
第一步、為你的WordPress網站註冊Google reCAPTCHA
第1步,進入:https://www.google.com/recaptcha/admin 並登錄你的谷歌帳號(如果還沒有,就去註冊Gmail)
第2步,點擊創建按鈕,進入下面的介面后,點擊(1)切換到經典密鑰模式
")
第3步,然後按下方圖片所示輸入標籤、網域等資訊並提交。
")
")
第4步,獲取這兩個密鑰
")
第二步、將密鑰填入網站的Elementor-設置-集成頁面中
前往你的WordPress網站後台,進入Elementor-設置-集成頁面,如下圖所示,黏貼輸入網站密鑰和密鑰,最後拉到頁面下方點擊保存。
")
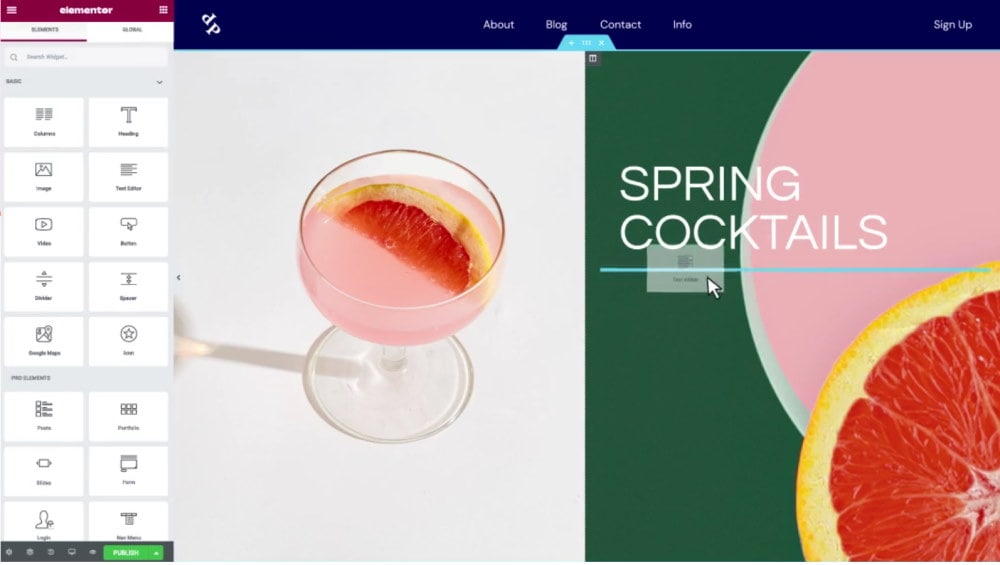
第三步、在Elementor製作的表單中添加reCAPTCHA V3字段
請編輯表單元素,添加新字段,將字段的Type選擇為recaptcha v3,將badge設為bottom left或其他你想要展示的位置。
")
然後保存這個頁面,去預覽一下效果,就能看到下圖了。
")
第四步、使用Code Snippets外掛,添加代碼段,實現reCAPTCHA V3的資源全球化,以便國內能順利載入
首先,請安裝Code Snippets外掛,學習如何添加代碼段。
然後,請按照下圖所示,添加本文所需的代碼段,並提交保存。
add_action('elementor_pro/forms/render_field/recaptcha_v3','deregister_recaptcha_script_v3',11,3);
function deregister_recaptcha_script_v3() {
wp_dequeue_script('elementor-recaptcha_v3-api');
wp_deregister_script('elementor-recaptcha_v3-api');
$src_new = 'https://www.recaptcha.net/recaptcha/api.js';
wp_register_script( 'elementor-recaptcha_net_v3-api', $src_new, [], ELEMENTOR_PRO_VERSION, true );
wp_enqueue_script('elementor-recaptcha_net_v3-api');
}")
接下來我們對比一下區別,如下兩圖,均在在沒有開代理的情況下,且是清緩存初次訪問網站
這是使用預設reCAPTCHA V3,調用的是 google.com 的資源,無法順利載入
")
這是加了Code Snippet之後,調用的是 recaptcha.net 的資源,順利載入
")
至此,大功告成,如有疑問可在下方留言,或在聯繫我頁面中,加入微信群交流。